Installation that elevates
Create the
"Perfect Look"
Proper installation is key to achieving a flawless, professional finish that enhances both comfort and aesthetics. By following each step carefully, you'll avoid bubbles, creases, and misalignment. Our guide ensures your film performs at its best—offering maximum UV protection, heat control, and privacy. Take your time, follow the steps, and enjoy a beautifully transformed space.


Key point
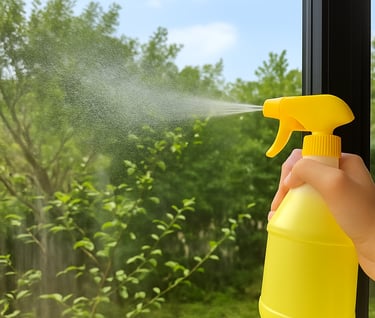
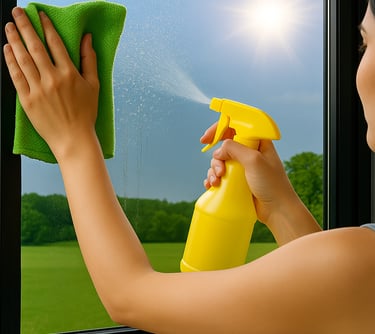
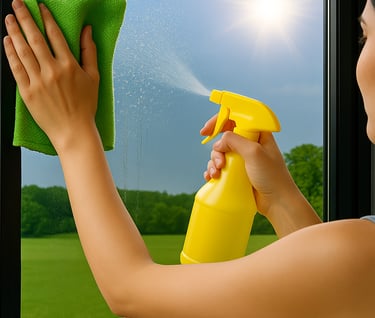
Window cleaning is a crucial starting step. It's not just about the glass—be sure to clean the frames and those narrow gaps between the glass and the frame where dust and grime often accumulate. If left uncleaned, these residues can turn an easy, smooth installation into a frustrating and less-than-perfect result.
Practice Makes Perfect
Like with any skill, hands-on practice makes all the difference. We recommend trying with a small piece of film first—this will help you get familiar with the handling and technique before moving on to larger surfaces.

Cleaning
Make you own installation solution by mixing 8 drops of liquid soap into 20 oz of water. Spray the solution generously on the glass and use a scaper to lift off any residue.
Thorough cleaning
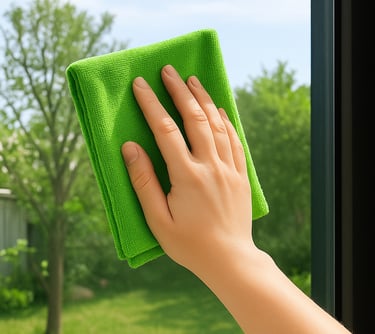
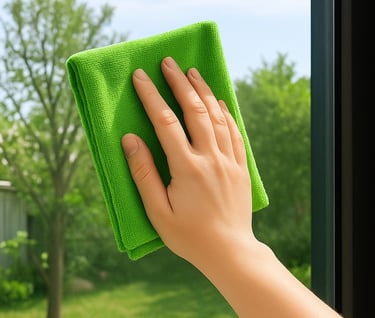
Make sure to wipe down the window frame and seals as well, since dust and dirt in those areas can interfere with adhesion. A low lint clothe is best to avoid leaving fibers behind.
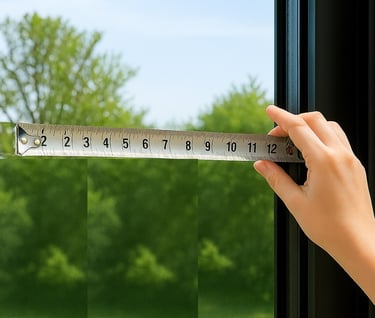
Measuring
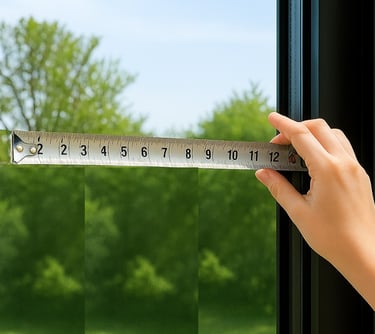
Measure the window and add 1.5inches to both, the width and the height
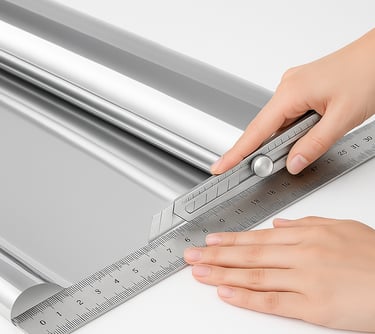

Cutting
Lay the film out on a flat surface, take the measurements and cut it, leaving an extra 1.5 inches on both sides. Use the special cutter provided.
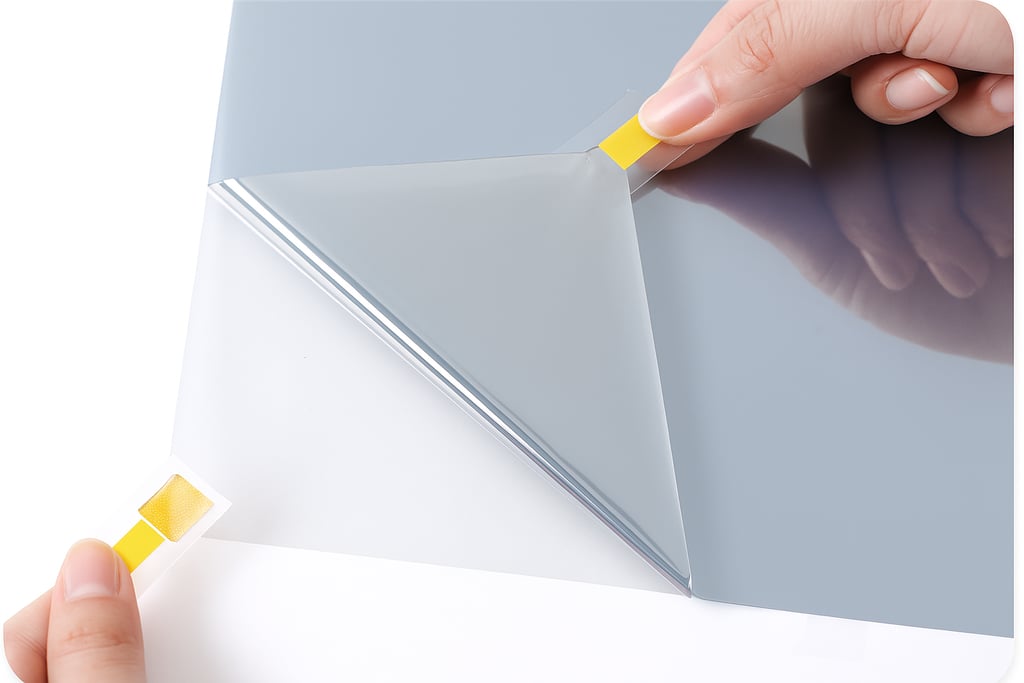
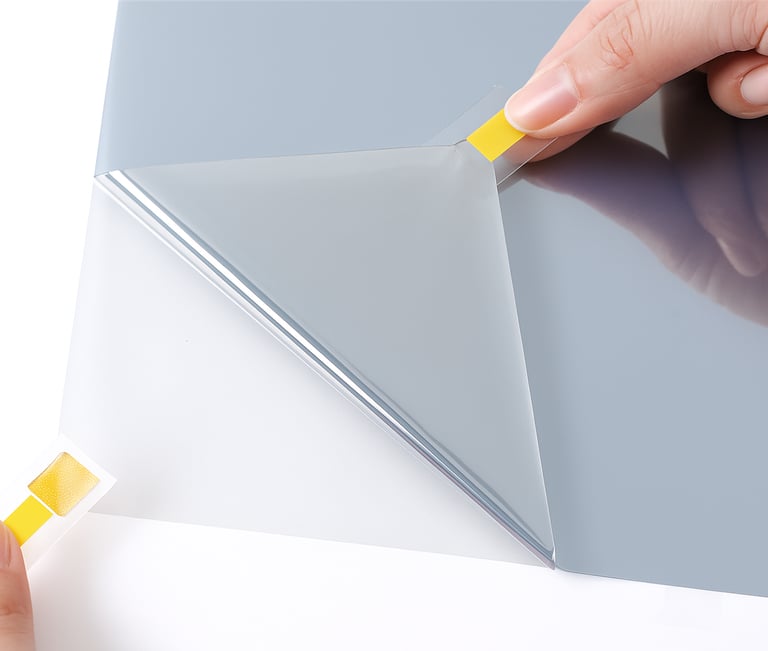
Separating
Now, separate the two layers of the film. To do this, apply two pieces of adhesive tape on one corner of the sheet, one on each side, perpendicularly. Then, press firmly, then gently pull the tapes apart. As you peel off the liner, spray the adhesive side to add weight and prevent sticking or folding.
Completely wet
Spray generously again; this will make it easier to position the film during installation. One of the most important tips is that the wetter both the glass and the film are, the easier it will be to position and work with them.


Application
Place the film on the window, adhesive side against the glass, and align it at the top. Try not to touch the adhesive side, as fingerprints will be difficult to remove
Squeegeeing
Spray the soapy solution over the surface of the film before using the squeegee. Press firmly with the squeegee to remove water and bubbles, from top to bottom and from the center outwards for best results
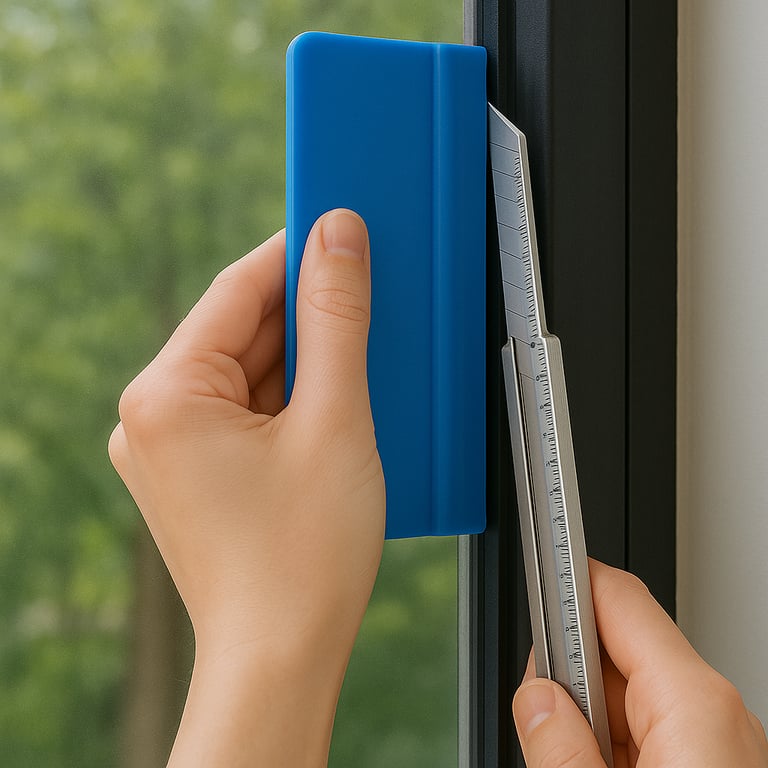
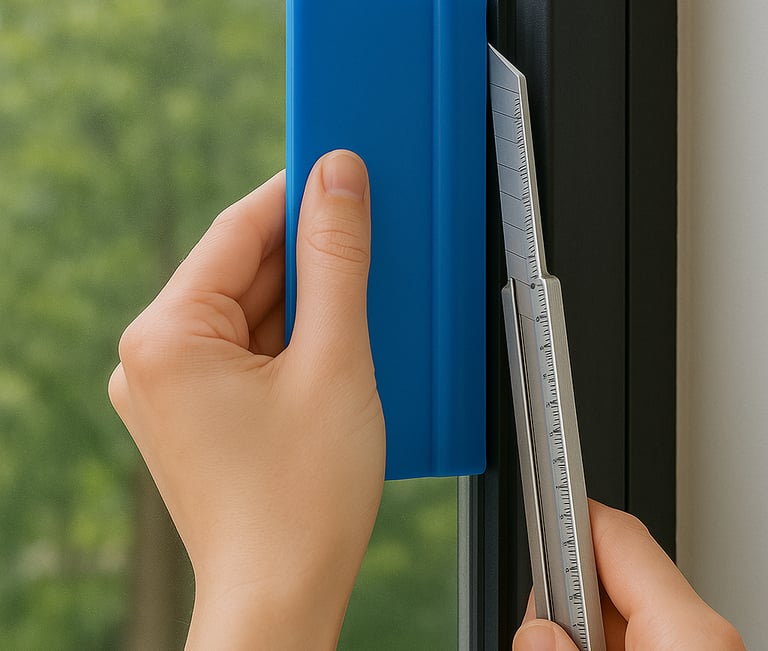
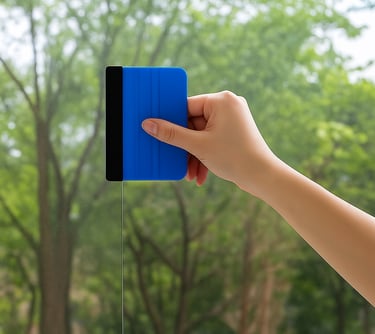
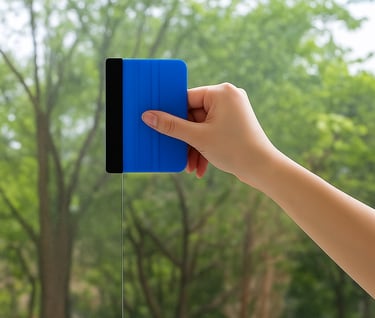
Trimming
Cut the excess film along the edges of the frame. Use the squeegee as a guide and carefully trim it with the provided cutter.
Final steps
Press the film again firmly to remove any remaining air bubbles. Dry the edges with a clean cloth and check for any bubbles or wrinkles


Final recommendations
Allow the film to dry completely for 48 hours before handling or operating the window. Avoid moving or adjusting the film during the drying process. Full curing may take up to 15 days; during this time, small water bubbles may appear but they will disappear on their own.
Post installation care
Never clean the film with glass cleaners that contain ammonia, as they may damage it. Instead, use a solution of water and liquid dish soap or a gentle degreaser.
Installation Guide:
Tips and Recommendations
Before installing your solar control window film, we recommend reading this guide. Most of the issues we receive as customer inquiries can be solved by following these steps. The installation process is straightforward, but it requires patience and attention to a few key details.
Below you'll find a detailed breakdown of everything to keep in mind to get the most out of the quality of our films
🔧 Before Installing
Important: These films are designed to be installed on the interior side of the glass, not on the exterior. Exterior installation will significantly reduce the film's lifespan
1. Check the condition of the glass: Inspect the glass for cracks, chips on the edges, or any prior damage. Existing imperfections increase the risk of glass breakage from thermal stress once the film is installed.
Important: films only work on smooth glass. They cannot be applied to textured, frosted, embossed, or patterned glass
2. Choose the right time to install: Ideal ambient temperature between 50°F and 75°F (10°C – 24°C). Avoid days with high humidity or extreme heat. Do not install in direct sunlight on the window: the heat dries the solution too quickly and won't give you enough time to position the film. Install early in the morning or after the sun has passed the window. Work in the cleanest, most dust-free environment possible.
4. Prepare the solution: Fill a spray bottle with 1 liter of clean water + up to 8 drops of neutral dishwashing detergent (or neutral shampoo). The soap is there to lubricate the film, not to make foam. Using more soap than recommended can cause iridescent stains between the film and the glass (more on this in point 12)..
5. Measure and cut with margin: Cut the film about 1.5 inch (3-4 cm) larger than the glass on each side. The excess gets trimmed at the end, with the film already applied, using the frame as a guide and a sharp utility knife. It's much easier than trying to cut to exact size beforehand.
6. Thorough glass cleaning (this is THE most important step): The number one cause of installation failures is not cleaning the glass properly. Any speck of dust, grease, or invisible residue will get trapped under the film as a permanent bubble.Clean with an ammonia-free cleaner and a lint-free cloth. Run a razor blade across the wet glass to remove paint, glue, or stuck-on dirt. Pay special attention to edges and corners.Dry completely before continuing.
7. Remove the clear protective liner: Films come with a clear protective liner on the adhesive side. You must remove it before applying. This is one of the most common mistakes: if you don't remove it, the film will peel off within hours. Tip: stick two small pieces of tape on a corner (one on each side) and pull them in opposite directions. The two layers will separate easily.
8. Identify the correct side: The adhesive side (where the protective liner was) goes against the glass. The outer side faces into the room. Warning sign: if the corners curl up or the film won't stay in place, you're probably applying it on the wrong side. Peel it off and flip it over.
9. Application: plenty of water, patience, and two people if possible: Spray the glass generously with the solution. You should see a continuous sheet of water, not patches. Spray the adhesive side of the film as well. Apply the film from the top, sliding it into position. The generous solution allows you to reposition it without it sticking permanently. With the squeegee, work from the center outward toward the edges, pushing out the water and bubbles. Apply firm, even pressure with smooth movements. For large windows or doors, working with two people makes a huge difference.
10. Bubbles: how to remove them: If bubbles remain:Run the squeegee again from the center toward the nearest edge.Tiny bubbles with water inside will reabsorb on their own over the following days — don't force them out.
11. Trim the excess at the end: With the film fully applied and smoothed out, run the utility knife (with a fresh blade) along the frame's edge. Hold the blade at a low angle and firmly against the frame for a clean, even cut.
12. Curing time (between 7 and 30 days): Once installed, the film needs time to fully cure and for all trapped moisture to evaporate. During this period, it is normal to see the following visual phenomena, which are NOT defects of the film or the installation.
Small bubbles or water "blisters": they go away on their own as the water evaporates through the material. Milky, hazy, or slightly cloudy appearance: residual moisture, which clears as it dries. Iridescent or rainbow-like stains between the film and the glass: this happens when too much soap was used in the installation solution. The excess detergent gets trapped between the film and the glass and creates that color distortion. It is not a product defect. In the vast majority of cases, it disappears on its own as the solution finishes drying over the following days.
13. Care during the curing period: Do not clean, touch, or press the film during the first 7 to 30 days. Don't try to "pop" small bubbles: they will reabsorb. Avoid abruptly opening and closing doors or windows with newly installed film.
14. Long-term maintenance: Never use ammonia-based cleaners (regular Windex, common glass cleaners with ammonia): they degrade the film and shorten its lifespan. Clean with water and a small amount of neutral detergent, using a soft cloth or microfiber. Do not use abrasive sponges, brushes, or hard tools. A properly installed and maintained film can last 10 to 15 years or more